Claude Code from zero: the complete beginner's guide for 2026 (no jargon, no disasters)
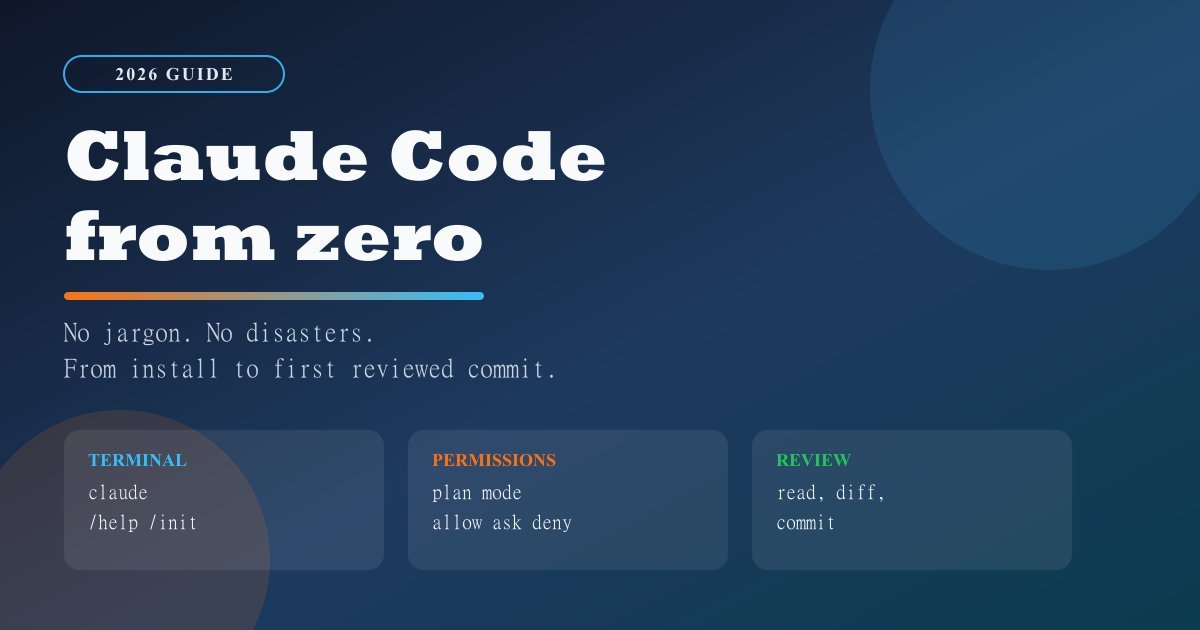
A welcoming guide to installing, configuring, and using Claude Code safely, even with zero prior experience.
- claude code
- claude code tutorial
Contents
- What Claude Code is and who this guide is for
- How to install, sign in, and understand pricing without surprises
- What to do in your first 30 minutes without breaking anything
- A small CLAUDE.md and safe permissions prevent nearly every scare
- Claude Code, Cursor, and Copilot: which difference changes your day
- 5 classic beginner mistakes and how to dodge each
- Frequently asked questions
- Conclusion: your safe map from here
- Sources
If letting an AI touch your code ties your stomach in knots, you are in the right place. Most people stall at the start because they fear deleting a file, leaking a key, or approving a change they do not understand. This guide removes that fear with a path that stays simple and safe.
Here you will learn what Claude Code is in plain language, how to install it and sign in, what to do in your first 30 minutes, how to keep the CLAUDE.md file small and permissions locked down, and which mistakes to skip. At the end you move on to four short guides, one per step.
Treat this page as a map. Read it top to bottom once to lose the fear, then return to whatever section you need in the moment. Each section ends with a link to the satellite guide that goes deeper on that step, so you never run out of a next move.
first-30-minutes walkthrough
What Claude Code is and who this guide is for

Claude Code is an agent that lives in the terminal and helps you handle code through conversation. It reads files, proposes edits, and runs commands, and it asks your approval before anything that changes something. That is the one distinction to keep: nothing happens behind your back, you review before you accept. The functional definition and the essential commands are in the official quickstart guide.
Who is this for? People studying programming, people who code in another field and want help with repetitive chores, and working developers who want to hand off small fixes with review. If you have never opened a terminal, this pillar still works, because the order assumes you skip nothing. If you already use another AI coding tool, it works as a map of where Claude Code fits.
Who should skip it for now? Anyone who only wants line completions while typing, with no conversation about the project. Editor autocomplete covers that, and it is a different kind of help. Claude Code shines when you describe a goal and review the plan before it runs.
What it does in your day
The daily loop looks the same every time. You state the goal in one sentence, it finds the files behind the request, shows what it understood, and proposes a change. You read the proposal, ask for adjustments where something looks off, and only then approve. Then you review the diff and keep, tweak, or revert. That ask, review, confirm cycle fits small chores like fixing a label and medium ones like splitting a function into clearer parts.
Explicit approval is what makes it calm. Reading and explaining come first, editing and running commands come later, with you inside every decision that touches files. When the request is vague, the best move is asking it to explain before it changes anything, because an explanation changes nothing and already shows whether the context is right.
Where Claude Code runs
The same agent shows up through several doors, which confuses beginners. Think of it this way: one engine, many entrances. The documented surfaces are CLI, VS Code, JetBrains, desktop app, web, Slack, and CI integration, per the Portuguese roundup published on Jul 14, 2026 in the guide to what Claude Code is.
Start with the terminal, which is the CLI. Once the loop feels comfortable, move into VS Code or JetBrains to read diffs in comfort. Desktop, web, and Slack help you chat or follow along, and CI covers team automation. You do not need to set up everything now. Pick one door and learn the basics well.
If you want a straight comparison with other tools before continuing, save this shortcut for after the basics: Claude Code vs Cursor vs Copilot.
How to install, sign in, and understand pricing without surprises

Installing Claude Code means using your system's normal channel, no strange shortcuts. On Linux and macOS the native path uses curl, on Windows it uses irm in PowerShell, macOS also offers brew cask, Windows offers winget, and npm works on any system with Node 22 or newer. Memory is simple: 4GB minimum, 8GB to work in comfort. Every path and requirement is in the official quickstart guide.
Then comes the login. Sign in with Pro, Max, Team, or Enterprise, or with Console and Bedrock access for company and cloud setups. The frustration-saver: the free plan does not include Claude Code, so if you sit on free and hit a wall, that is a plan limit, not a broken install. The guide to what Claude Code is, published Jul 14, 2026, states the warning plainly.
A calm order for installing
First, confirm Node if you picked npm, version 22 or newer. Second, run exactly one install method, your system's, without mixing curl and npm in the same attempt. Third, open a fresh terminal and run the main command to confirm the program answers. Fourth, sign in with an account that carries usage rights. If something fails, the diagnostic command helps: /doctor checks the environment and names what is missing. That base command list, including /help, /init, /clear, /compact, /model, /permissions, /mcp, /config, and /doctor, is in the official quickstart guide.
If the terminal reports command-not-found after installing, close it and open a new one before retrying, because the system path only refreshes in the new session. On a Windows permission error, stay in PowerShell with the irm method and avoid mixing npm into the same folder. On a Node version error, upgrade to 22 or newer and repeat the install through one channel. Write down which method you used, because that makes asking for help much easier later.
Separate two ideas early. Installing puts the program on your machine. Authorizing says what it may do in your project. Plenty of people blur the two and unlock everything on day one out of hurry. Skip that. Install, sign in with the right account, and keep permissions in their most careful mode, which comes up later. That one split removes most beginner stress.
Beginners mix up installing with authorizing. Keep them apart, program on the machine on one side and project permissions on the other, and most of the fear disappears. Each step has its own way to verify, and none of them wants rushing.
For the per-system walkthrough, with the exact Windows, Mac, and Linux commands, follow the install satellite: how to install on Windows, Mac, and Linux.
Pricing and login in one sentence each
Pricing: on a free account, plan to move to a paid seat or use your company's Console or Bedrock access, because free does not unlock the agent. Login: Pro or Max for solo use, Team or Enterprise for teams, Console or Bedrock for cloud and integrations. When the login expires or you switch machines, sign in again and run /doctor to confirm everything is fine.
What to do in your first 30 minutes without breaking anything
Your first 30 minutes should be a guided drill, not a renovation of your real project. The golden rule is a separate branch for practice, inside an active git repo. That way every suggestion shows up in the diff and reverts without drama. That practice-branch care plus the read, explain, change, review-diff, commit cycle comes from the 30-minute walkthrough published Apr 8, 2026 in the getting-started guide and the hands-on loop from Apr 27, 2026 in the complete getting-started guide.
Start with commands that only read and explain. Use /help for help, /model to confirm the active model, and ask for something like an explanation of this folder's layout. Then request one tiny change, like renaming a variable or adjusting a label. Review the diff slowly, line by line, and only then commit. The pace feels slow, and it builds trust fast.
How to ask well from the first conversation
Good requests carry three short parts: where, what, and how to check. Where names the folder or file, what states the change in one sentence, and how to check names the test or read that proves it worked. For example: in this folder, explain which files handle login, without changing anything. Or: in this file, adjust this label and show the diff before finishing. When context runs short, the agent asks, and answering those questions with the file name and the expected result saves a full correction round.
The commands worth your first days
Keep this starter kit. /help shows help, /init creates a starter CLAUDE.md in the project, /clear wipes conversation context without touching files, /compact summarizes the conversation when it runs long, /model switches or confirms the model, /permissions opens control over what runs without asking, /mcp manages outside integrations, /config tunes preferences, and /doctor checks the environment. The full list is in the official quickstart guide.
Three run modes change your control on top of that. Normal mode opens the interactive chat. One-shot mode with claude -p runs a single request and exits, good for closed questions. The -c and -r flags resume or continue an earlier conversation, which avoids repeating context. One-shot use with -p and careful resuming shows up in the complete getting-started guide from Apr 27, 2026.
A simple split for your 30 minutes
Think in short blocks: 5 minutes reading the layout, 5 asking for explanations, 7 making one small change, 6 reviewing the diff with care, 7 committing and noting what you learned. Treat that split as a rhythm suggestion, not an official rule. It translates the cycle from both April 2026 guides into a plan that fits half an hour.
Once you finish that cycle a single time, repeat it with a slightly bigger task, still on the training branch. The goal is asking, reviewing, and reverting, not high output. For the detailed walkthrough with what to type in each block, open the hands-on satellite: first-30-minutes walkthrough.
A small CLAUDE.md and safe permissions prevent nearly every scare

CLAUDE.md is an instruction file that sits in your project and tells the agent how to work there. The best first version stays short: project name on one line, how to run tests in one or two lines, and what never to do. The spirit looks like this: run tests with this command, never touch keys, ask before installing anything new. Keeping that file small, with test commands, is the recommendation from the Jan 28, 2026 beginner tutorial.
Permissions are the second half of safety. Claude Code works with three plain levels: allow frees safe actions without asking every time, ask confirms case by case, and deny blocks for good. The right starting mode is permission-mode plan, which plans before running and asks for approval at sensitive points. That mode and JSON permissions show up in the getting-started guide from Apr 8, 2026.
What belongs in allow, ask, and deny
Think in layers. In allow, keep only reading and harmless daily commands, like listing files and running the project's test suite. In ask, keep everything that changes files, installs dependencies, or runs scripts you do not know yet. In deny, lock the .env file and every key pattern without exception, plus destructive commands like rm -rf and force push. That deny list with .env and removal and force-push commands is the safe default from the April and January 2026 materials.
When in doubt, pick the stricter option. Answering one extra ask beats recovering a deleted file or an exposed key. Over time you move a command from ask to allow once it proves repetitive and safe in your context. The reverse holds too: if something scared you, drop it back to ask or deny on the spot.
One tip that keeps you unstuck: review permissions once a week at the start. Open /permissions, read the list out loud, and ask of each item whether it really needs to run silently. If the answer is not sure, leave it in ask. That two-minute review keeps the environment safe while your repertoire grows.
A minimal template that shows the idea
A starter CLAUDE.md holds four short blocks: project context, test command, answer style, limits. Context says what the project is in one sentence. Tests name the exact command that validates. Style asks for short answers and one small diff at a time. Limits list what never happens without explicit permission. Run /init to generate the base, then edit it down, never up. A short file reads easier and invites fewer contradictory instructions.
For ready examples and the permissions setup in JSON, follow the dedicated satellite: CLAUDE.md and safe permissions.
Claude Code, Cursor, and Copilot: which difference changes your day
Direct comparison picks tools without fan wars. Cursor means strong autocomplete inside the editor, finishing what you type. Copilot means code suggestions as you write, inside the typing flow. Claude Code is an autonomous agent that takes a goal, reads the project, proposes a plan, and runs steps with your approval. That split between autocomplete, suggestion, and autonomous agent settles the decision.
In practice, most people refuse to pick one. The pair works well: editor with autocomplete for typing speed, agent in the terminal for chores that cross files, like understanding a module, changing several spots, and preparing a commit for review. That combo idea plus usage tips with /cost, /review, and /pr comes from the 10 tips published May 16, 2026 in the hands-on tips tutorial.
When to reach for each
Reach for autocomplete and suggestions when you know the move and want to type faster, like finishing functions and plain tests. Reach for the agent when the work needs investigation first, like finding where an error is born or carrying one change across files with coherence. On big tasks, split the work into small agent requests instead of asking for everything at once. Smaller requests produce smaller diffs, which review and revert easier.
| Situation | Best pick | Why |
|---|---|---|
| Finishing a line you already know | Editor autocomplete | Speed with no conversation |
| Suggestions while writing | In-editor suggestions | Timely help inside the flow |
| Understanding a new module | Terminal agent | Reads files and explains |
| Changes across several spots | Agent with reviewed diff | Keeps files coherent |
| Preparing a commit for review | Agent plus git | Clear diff and clean history |
For scenarios side by side, with each option's strengths and limits, open the cluster comparison: Claude Code vs Cursor vs Copilot.
5 classic beginner mistakes and how to dodge each

Early mistakes are normal, and these five repeat so often the fixes are worth memorizing. They show up in similar shapes in the Jan 28, 2026 beginner tutorial, the 5 mistakes in the getting-started guide from Apr 8, 2026, and the 3 stumbles in the complete getting-started guide from Apr 27, 2026.
1. Running in the home directory instead of the project
Opening the agent in home grants overly broad access and mixes personal files with code. The fix is simple: enter the project folder before starting and confirm the path with the system command. If you already opened it in the wrong place, run /clear, close, enter the right folder, and restart. That rule keeps a vague instruction from reaching files outside the scope.
2. Asking for a giant feature in one go
Asking for the entire system at once produces a long answer that reviews hard and breaks easy. Split the work into steps that fit a readable diff: map first, change one file, test, then continue. Past three steps in a plan, ask it to split. Small diffs protect your review time.
3. Skipping the agent's questions
When the agent asks which file, which expected behavior, or whether it may run a command, it requests the missing context. Brushing past with do it anyway hands the risk to you. Answer short and direct, with the file name and the expected result. Good answers produce better changes on the first try.
4. Working with no git or outside a branch
Without git there is no comparing, no going back, no proof of what changed. Before any edit request, confirm the repo exists and cut a practice or task branch. Review the diff before every commit and write clear messages. If the diff arrives big for no reason, ask for a redo in smaller parts.
5. Authorizing everything to move faster
Unlocking every command to skip confirmations looks productive, and it removes the lock guarding .env, keys, and destructive commands. Keep permission-mode plan early on, with .env in deny plus rm -rf and force push in deny too. Promote to allow only what repeats safely, like running tests. Here safety reads as speed, because it prevents rework.
If you committed one of these today, skip the restart from zero. Return to the branch, review the diff, adjust CLAUDE.md, and run the next request smaller. Progress in Claude Code comes from short reviewed cycles, never from one heroic command.
One hands-on way to lock this in: turn each mistake into a latch. Wrong folder? Build the habit of confirming the path before opening the agent. Oversized ask? Set the rule that any request past three steps gets split. Skipped question? Answer first, run later. No git? No edits before the branch. Unlocked everything? Return to plan and rebuild the deny list. Within a week those latches turn into routine.
Frequently asked questions
Do I need to know programming to use Claude Code?
You need no professional background, and basic files, folders, and terminal help. If you can enter a folder, list files, and open a project in an editor, this guide carries you. Start with reading and explaining, ask for a glossary whenever a term blocks you, and move to small edits with reviewed diffs. Vocabulary grows with use, no rush.
Does the free plan include Claude Code?
No. The free plan leaves out Claude Code, so access requires Pro, Max, Team, Enterprise, Console, or Bedrock, per the roundup published Jul 14, 2026 in the guide to what Claude Code is. On free, the block is no install bug. Check the account plan, sign in with the right account, and run /doctor to confirm the environment.
Where can I run Claude Code?
On the 7 surfaces in this guide: terminal CLI, VS Code, JetBrains, desktop app, web, Slack, and CI for automation. Start with the CLI in a git project. Later carry the loop into the editor you already use. The list sits in the guide to what Claude Code is, Jul 14, 2026.
Which commands help me review and resume safely?
Run /clear to wipe context, /compact to summarize long conversations, always review the diff before committing, and reach for claude -p for closed one-shot requests. To pick up where you stopped, use -c and -r instead of repeating everything. That command base lives in the official quickstart guide, with one-shot use detailed in the complete getting-started guide from Apr 27, 2026.
Conclusion: your safe map from here
Claude Code from zero comes down to four moves: install through your system's channel, sign in with an entitled account, practice 30 minutes on a separate branch with diff review, and lock CLAUDE.md plus permissions before speeding up. That covers the mistakes that scare beginners most and builds trust for bigger tasks in small slices.
When doubt hits mid-task, return to each stage's central question. Where am I? What do I want to change? How will I check? If all three answers fit short sentences, the request is ready. If any answer stays vague, ask for an explanation before asking for a change. That plain habit keeps control with you from start to finish.
Follow this order. First, the per-system walkthrough: how to install on Windows, Mac, and Linux. Then the guided drill: first-30-minutes walkthrough. Then the safety lock: CLAUDE.md and safe permissions. Finally, the tool choice: Claude Code vs Cursor vs Copilot.
Sources
Read next

Motion •
Motion Design for the Web: The Complete Guide
Scroll, text, images and video: the complete catalog of motion techniques for the web, with implementation in Next.js and the cases where each one pays off.
- motion
- scroll

The definitive guide — a Next.js site built around motion and scroll
The scroll foundation that, when missing, keeps the animations from working at all: Lenis, GSAP and Next.js wired in the right order and the mistakes to avoid.
- next.js
- lenis

Infra •
Documentation: deploying a Next.js application with GitHub + Hostinger
Every push becomes a live site with no hosting panel involved: connecting GitHub to Hostinger, the build settings that break and the checks after each deploy.
- deploy
- github